How To Season Cast Iron Cookware In The Oven: Easy Guide

Season cast iron in the oven with thin oil coats and a hot bake.
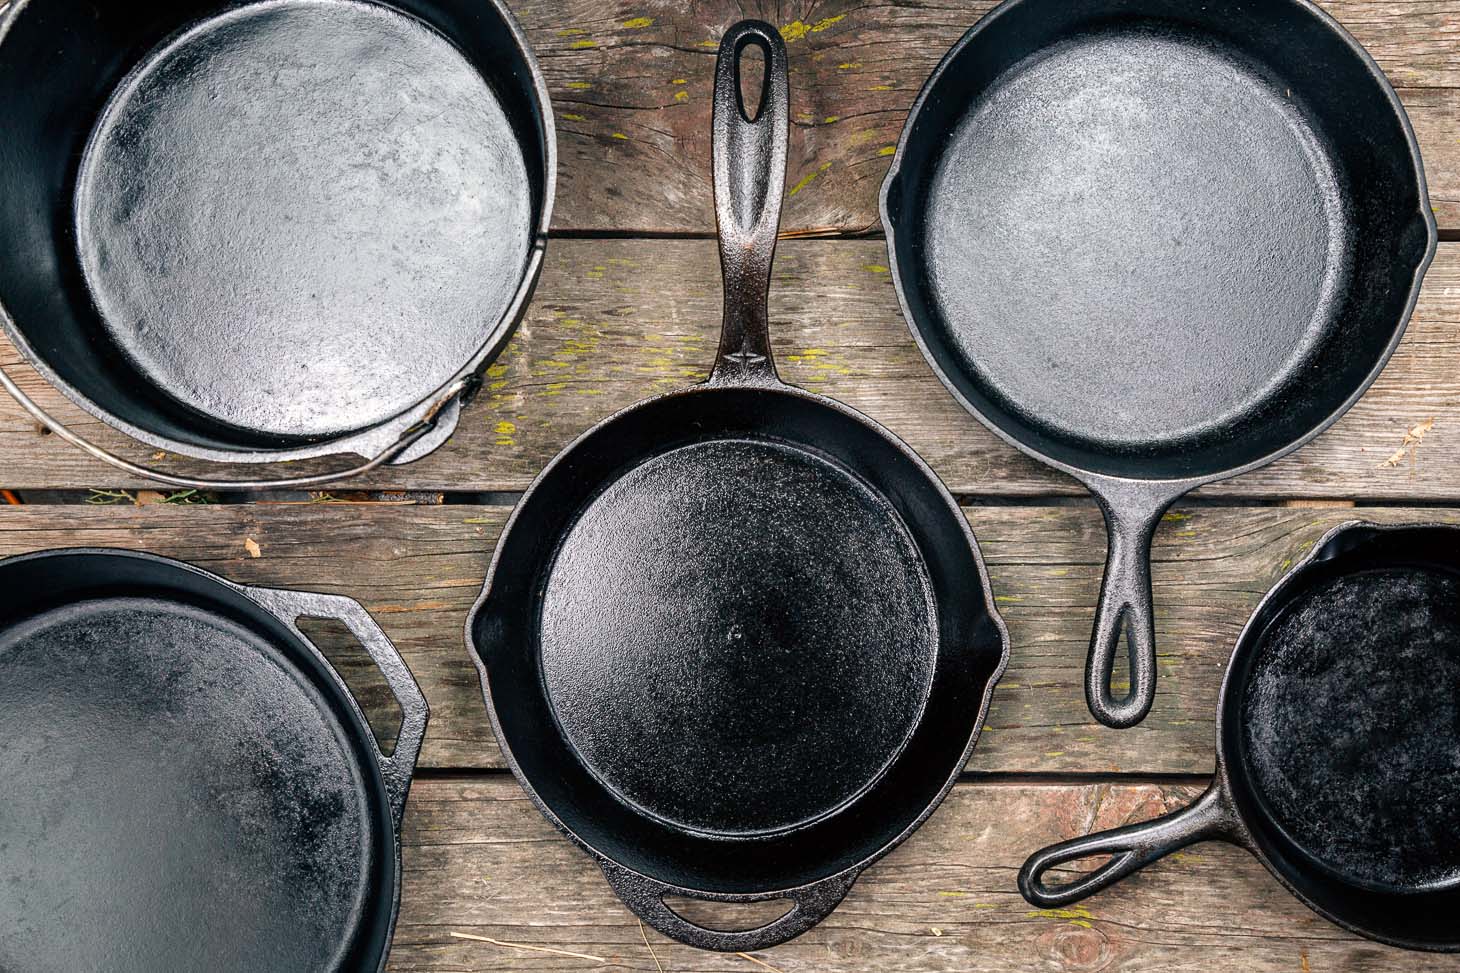
If you have a skillet, griddle, or Dutch oven that needs a stronger nonstick layer, oven seasoning is one of the most reliable methods. It gives cast iron a smooth, dark finish, helps protect it from rust, and builds that classic easy-release surface many cooks love. I’ve seasoned a lot of cast iron over the years, and the oven method is the one I trust when I want even results with less guesswork.
What Seasoning Cast Iron Actually Means
Seasoning is not just “oiling the pan.” It is the process of heating a thin layer of oil until it bonds to the metal. That creates a hard protective coating that helps keep moisture out and makes cooking easier.
When cast iron is seasoned well, it becomes more resistant to rust and food sticks less. That is why old cast iron can last for generations. The surface gets better with use, as long as you keep it clean, dry, and lightly oiled.
A lot of people think seasoning is a one-time job. It is not. It is more like training the pan, one thin layer at a time.
Why Use the Oven Method
The oven method gives more even heat than the stovetop. That matters because cast iron heats slowly and holds heat for a long time. In the oven, the oil can polymerize evenly across the whole surface, including the sides and handle.
I like this method for pans with patchy seasoning or after stripping rust. It is also easier when you want to coat several pieces at once. If you have a skillet, lid, or Dutch oven, the oven can handle all of them in one session.
Here is why the oven method works so well:
- Even heating helps prevent sticky spots.
- It covers the full cookware surface.
- It is better for restoring old cast iron.
- It is simple to repeat for multiple coats.
:max_bytes(150000):strip_icc()/__opt__aboutcom__coeus__resources__content_migration__serious_eats__seriouseats.com__images__2016__09__20160817-cast-iron-pan-vicky-wasik-3-c56f176298784fef9e60f6cea198e0e4.jpg)
What You Need Before You Start
You do not need fancy tools. You just need the right basics and a little patience.
Gather these items:
- Cast iron cookware
- Mild dish soap
- Warm water
- A scrub brush or nonmetal sponge
- Clean towels or paper towels
- A thin oil with a high smoke point
- Aluminum foil or a lined baking sheet
Good oil choices include flaxseed oil, grapeseed oil, canola oil, avocado oil, and vegetable oil. In practice, I have found that a neutral oil is often easier for beginners than a super trendy option. The main rule is simple: use a very thin coat.
How to Season Cast Iron Cookware in the Oven Step by Step
The process is simple, but the details matter. Thin coats and dry heat are what make the finish work.
1. Clean the cookware well
Wash the cast iron with warm water and a small amount of soap. A little soap is fine here. That old warning about never using soap is outdated for most modern dish soaps and clean cast iron care.
Scrub off any rust, old food, or sticky residue. If the pan has heavy rust, you may need extra scrubbing or a full strip before seasoning. Rinse it well and dry it completely.
2. Dry it fully
Water left on cast iron can lead to rust fast. After towel drying, place the pan on a warm stovetop burner or in a low oven for a few minutes. The surface should look dry and feel warm, not damp.
This step sounds small, but it is one of the biggest mistakes I see. If the pan is not fully dry, the seasoning layer can fail before it even starts.
3. Apply a very thin coat of oil
Put a little oil on a cloth or paper towel and rub it over the whole piece. Cover the cooking surface, outer surface, handle, and sides. Then wipe again with a clean towel so the layer is almost invisible.
That last wipe is key. If the pan looks shiny or feels oily, there is too much oil. Thick oil turns sticky in the oven instead of forming a hard coating.
4. Preheat the oven
Set the oven to the oil’s seasoning range, usually around 450°F to 500°F. Check the oil label if needed, since smoke points vary. A hotter oven helps polymerize the oil, but your kitchen may get smoky, so make sure ventilation is good.
I always turn on the range hood and crack a window when I season cast iron in the oven. It keeps the kitchen more comfortable and helps with smoke control.
5. Place the cookware upside down
Put the cast iron upside down on the middle rack. This helps prevent oil from pooling inside the pan. If you are worried about drips, place a foil-lined baking sheet on the lower rack.
This is a small trick that saves a lot of frustration. Dripped oil can bake into a sticky mess that is hard to clean later.
6. Bake for one hour
Let the cookware bake for about one hour. During this time, the oil changes on a chemical level and bonds to the iron. That is the heart of the seasoning process.
If your oven runs unevenly, you may notice some smoke. That is normal in small amounts, but heavy smoke means too much oil or too high a heat. Keep an eye on it the first time.
7. Turn off the oven and let it cool inside
After an hour, turn off the oven and leave the cast iron inside until it cools down. Slow cooling helps the new layer set properly. Once cool, remove it and inspect the surface.
A single coat can help, but 2 to 4 coats usually give a better finish. If the pan still looks patchy, repeat the process with another ultra-thin layer of oil.
Best Oils for Oven Seasoning
Different oils can work, but they do not all behave the same. The best oil is one that forms a hard, stable coating without leaving a gummy film.
Popular options include:
- Flaxseed oil, which can create a hard finish but may be picky if applied too thickly
- Canola oil, which is easy to find and reliable
- Grapeseed oil, which has a good smoke point and neutral taste
- Avocado oil, which handles high heat well
- Vegetable oil, which is budget friendly and common
In my experience, beginners often get better results with canola or grapeseed oil because they are forgiving. Flaxseed oil can work well too, but it is less forgiving if you overapply it.
Common Mistakes to Avoid
A lot of seasoning problems come from a few simple errors. The good news is that they are easy to fix once you know what to look for.
Avoid these mistakes:
- Using too much oil, which creates a sticky surface
- Skipping the drying step, which invites rust
- Baking at too low a temperature, which prevents proper bonding
- Forgetting to place the pan upside down, which causes pooling
- Giving up after one coat when the surface still looks dull
I once rushed a seasoning job with too much oil because I wanted fast results. The pan came out tacky, and I had to scrub it down and start again. That taught me the best lesson in cast iron care: thin coats always win.
How Many Coats Do You Need
For a new or stripped pan, 2 to 4 coats is a solid starting point. Some pieces may need more if the surface is rough or uneven. A single coat is usually not enough for a strong, long-lasting finish.
Think of each coat like a layer of paint on a wall. One layer helps, but several thin layers give a smoother and tougher result. The good news is that each round gets easier.
How to Care for Cast Iron After Seasoning
Seasoning does not end when the oven cools. Daily care matters just as much as the first bake.
Keep these habits in mind:
- Wash with warm water after cooking
- Use soap if needed, but avoid soaking
- Dry right away
- Heat briefly to remove hidden moisture
- Rub on a tiny amount of oil after drying
If food starts sticking more than usual, the pan may just need use, cleaning, and one more oven seasoning cycle. Cast iron often improves with steady care, almost like it remembers how to behave.
Signs Your Cast Iron Is Well Seasoned
A well-seasoned pan has a few easy-to-spot signs. It should look darker, feel smoother, and release food more easily.
Watch for these clues:
- The surface has a deep brown or black color
- Water beads up instead of spreading fast
- Eggs and pancakes lift more easily
- The pan feels dry, not greasy
Do not worry if your cast iron does not look perfect right away. A strong seasoning layer builds over time. Even a pan with a few faded spots can still cook beautifully.
When to Re-Season Your Cookware
You do not need to re-season after every use. But some situations call for it.
Re-season if you notice:
- Rust spots
- Sticky residue that will not wash off
- Food sticking more than usual
- A dull, patchy surface after cleaning
For small issues, one or two oven cycles may be enough. If the pan is badly rusted or stripped, you may need to clean it more deeply before seasoning again.
Expert Tips for Better Results
A few small details can make a big difference. These are the habits I rely on when I want consistent results.
Try these tips:
- Use very thin oil coats
- Wipe until the pan almost looks dry
- Season in a well-ventilated kitchen
- Let the pan cool inside the oven
- Repeat coats instead of forcing one heavy layer
This method is simple, but it rewards patience. Cast iron is a lot like building trust with a tool. Give it steady care, and it will pay you back for years.
Frequently Asked Questions About How to Season Cast Iron Cookware in the Oven
How long does it take to season cast iron cookware in the oven?
Most seasoning sessions take about one hour of baking, plus cooling time. If you add multiple coats, plan for a few hours total.
Can I use olive oil to season cast iron in the oven?
Yes, but it is not usually the best choice for beginners because it has a lower smoke point than some other oils. Neutral oils like canola or grapeseed are often easier and more reliable.
Do I need to season brand-new cast iron before using it?
Pre-seasoned cast iron can often be used right away, but an extra oven seasoning helps strengthen the surface. If it looks dull or rough, one or two more coats can improve performance.
Why does my cast iron feel sticky after seasoning?
Sticky cast iron usually means too much oil was used. The fix is to bake it again after wiping off the excess, or sometimes to clean and restart if the buildup is heavy.
How often should I season cast iron cookware in the oven?
For regular home use, you may only need a full oven seasoning a few times a year. If you cook often and care for the pan well, normal use will maintain most of the seasoning.
Can I season cast iron cookware in the oven if it has rust?
Yes, but the rust should be removed first. Seasoning over rust will not solve the problem, because the coating needs clean metal to bond properly.
Conclusion
Seasoning cast iron cookware in the oven is one of the easiest ways to build a strong, durable cooking surface. The real secret is simple: clean it well, dry it completely, use a very thin layer of oil, and let the oven do the work. When you repeat the process with care, your cast iron becomes smoother, tougher, and better at cooking almost anything.
If you treat the pan like a long-term kitchen partner, it will reward you with better meals and less sticking over time. Try the oven method on your next skillet or Dutch oven, and see how much of a difference a few careful coats can make. If you found this helpful, keep exploring cast iron care tips and share your own seasoning experience in the comments.