How to Clean Burnt Pan Bottoms with Vinegar in 2026
Learn how to clean burnt pan bottoms with vinegar using a simple, chemical-free method that works in 2026. This guide walks you through soaking, scrubbing, and maintaining your cookware for long-lasting shine.
How to Clean Burnt Pan Bottoms with Vinegar in 2026
If you’ve ever left a pan on the stove a little too long—only to return to a charred, sticky mess—you’re not alone. Burnt pan bottoms are one of the most common kitchen frustrations, especially in 2026, where busy schedules and multitasking often lead to cooking mishaps. But here’s the good news: you don’t need expensive cleaners or hours of scrubbing to fix it. With just vinegar—a pantry staple—you can restore your pans to like-new condition.
In this guide, you’ll learn a proven, eco-friendly method to clean burnt pan bottoms using vinegar. Whether you’re dealing with a scorched stainless steel skillet, a blackened aluminum pot, or a slightly charred nonstick pan (with caution), this technique is safe, effective, and easy to follow. Plus, it’s perfect for the modern, sustainability-minded home cook who wants results without harsh chemicals.
By the end of this guide, you’ll know exactly how to tackle burnt residues, prevent future damage, and keep your cookware looking great for years to come.
Why Vinegar Works So Well on Burnt Pans
Vinegar isn’t just for salads—it’s a cleaning powerhouse. The secret lies in its main ingredient: acetic acid. This natural compound breaks down carbonized food, grease, and mineral deposits that cling to pan surfaces. When heated or combined with other ingredients like baking soda, vinegar becomes even more effective at loosening stubborn burnt-on gunk.
Unlike commercial oven cleaners that release toxic fumes, vinegar is non-toxic, biodegradable, and safe to use around food-prep areas. In 2026, as more households prioritize green living, vinegar has become a go-to solution for everything from descaling kettles to cleaning coffee makers—and yes, rescuing burnt pans.
Another advantage? It’s cheap. A gallon of white distilled vinegar costs less than $5 and can clean dozens of pans. That’s a win for your wallet and the planet.
What You’ll Need
Before you start, gather these simple supplies. Most are already in your kitchen:
- White distilled vinegar (5% acidity works best)
- Baking soda (optional, for extra scrubbing power)
- Water
- A sponge or soft scrub brush (non-abrasive)
- A scraper or wooden spatula (for tough spots)
- Dish soap (for final rinse)
- Clean towel or paper towels
Avoid steel wool or harsh scouring pads unless absolutely necessary—they can scratch delicate surfaces like nonstick coatings or enamel.
Step-by-Step Guide to Cleaning Burnt Pan Bottoms
Follow these steps to restore your pan with minimal effort and maximum results.
Step 1: Let the Pan Cool Completely
Never attempt to clean a hot pan. Sudden temperature changes can warp metal or crack enamel coatings. Plus, handling a hot pan is dangerous. Let it sit on the counter or stovetop until it’s cool to the touch—usually 30 to 60 minutes.
Safety first: Even if you’re in a hurry, resist the urge to speed up cooling with water. Pouring cold water on a hot pan can cause thermal shock, damaging the cookware.
Step 2: Remove Loose Debris
Use a paper towel or soft cloth to wipe away any loose ash, crumbs, or charred bits. This step isn’t about deep cleaning—just clearing the surface so the vinegar can work directly on the burnt layer.
If there’s a lot of buildup, gently scrape with a wooden spatula or plastic scraper. Avoid metal tools that could scratch.
Step 3: Create a Vinegar Soaking Solution
For most burnt pans, a 1:1 mixture of vinegar and water works well. Here’s how to prepare it:
- Fill the pan with equal parts white vinegar and warm water.
- Make sure the burnt area is fully submerged—add more liquid if needed.
- For extremely tough burns, use undiluted vinegar.
Place the pan on the stovetop and bring the solution to a gentle simmer. Let it bubble for 5 to 10 minutes. The heat helps the vinegar penetrate the burnt layer, breaking it down at a molecular level.
Turn off the heat and let the pan soak for at least 30 minutes—or overnight for severe cases. The longer it sits, the easier the cleanup.
Step 4: Add Baking Soda for Extra Power (Optional)
If the burn is particularly stubborn, sprinkle 1–2 tablespoons of baking soda directly onto the wet, vinegar-soaked surface. You’ll see it fizz—that’s the reaction between the acid (vinegar) and base (baking soda) creating carbon dioxide. This fizzing action helps lift burnt particles.
Let it sit for 10–15 minutes. The combination of soaking and gentle abrasion makes scrubbing much easier.
Step 5: Scrub Gently
Now it’s time to clean. Use a soft sponge, non-abrasive scrub pad, or nylon brush to wipe the bottom of the pan. You’ll notice the burnt residue coming off with little effort.
For tight spots or grooves (common in ridged pans), use an old toothbrush dipped in the vinegar solution.
If needed, reapply vinegar and baking soda to problem areas and scrub again. Avoid aggressive scrubbing—let the chemistry do the work.
Step 6: Rinse and Wash
Once the burnt layer is gone, rinse the pan thoroughly with warm water. Wash it with a drop of dish soap and a sponge to remove any vinegar smell or residue.
Dry immediately with a clean towel to prevent water spots, especially on stainless steel.
Step 7: Inspect and Repeat if Necessary
Check the pan under good lighting. If you still see dark spots or rough patches, repeat the soaking and scrubbing process. Some deep burns may require two or three treatments.
For pans with discoloration (not actual burnt food), a paste of baking soda and water can help restore shine. Apply, let sit 10 minutes, then scrub and rinse.
Tips for Different Pan Types
Not all pans are created equal. Here’s how to adapt the vinegar method based on your cookware:
Stainless Steel Pans
These are the easiest to clean with vinegar. They’re durable and resist scratching. Soak, scrub, and shine—no worries.
Tip: After cleaning, polish with a microfiber cloth to restore the mirror-like finish.
Aluminum Pans
Aluminum reacts with acids, so avoid long soaking times. Use a 1:1 vinegar-water mix and limit soaking to 30 minutes. Rinse promptly to prevent pitting.
Nonstick Pans
Be gentle. Avoid abrasive tools and high heat. Use diluted vinegar and a soft sponge. Never use steel wool—it can ruin the coating.
Note: If the nonstick surface is peeling or damaged, it’s time to replace the pan for safety.
Enamel-Coated Pans
Vinegar is safe for enamel, but don’t soak for more than an hour. The acid can weaken the coating over time. Rinse well after cleaning.
Cast Iron Pans
Vinegar can strip the seasoning—the protective oil layer that prevents rust. Only use vinegar for heavy rust or burnt food if absolutely necessary. After cleaning, re-season the pan immediately with a thin layer of oil and heat in the oven.
Troubleshooting Common Issues
Even with the best method, you might run into a few hiccups. Here’s how to handle them:
Problem: Burnt residue won’t budge
Solution: Soak longer—up to 24 hours for extreme cases. Add a splash of dish soap to the vinegar solution to help break down grease.
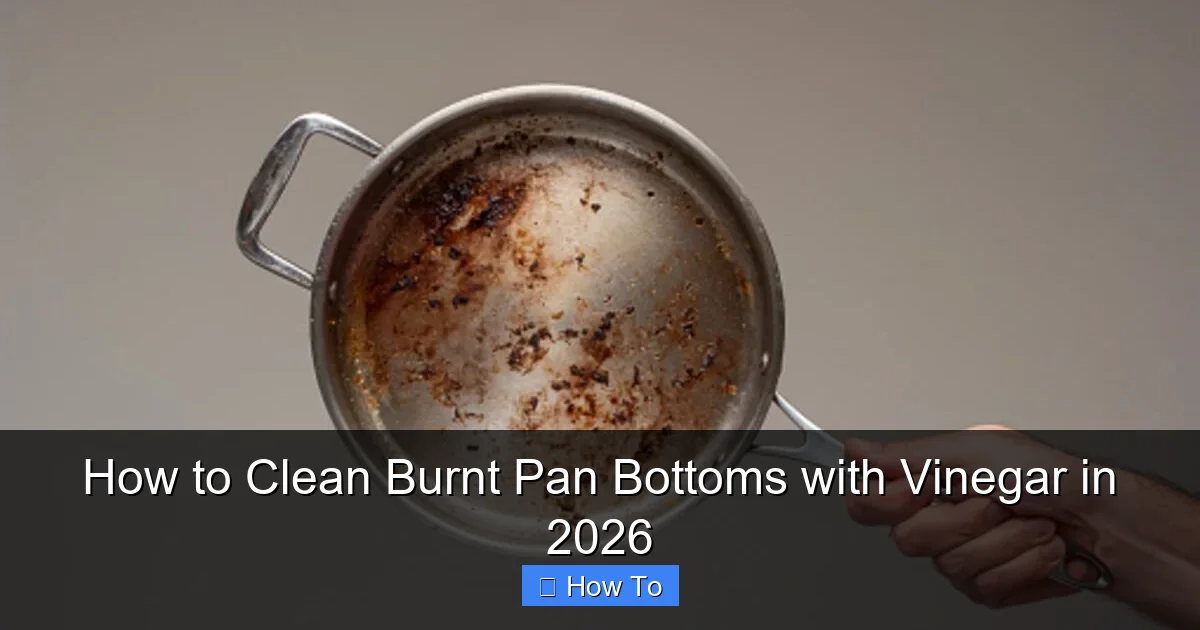
Visual guide about How to Clean Burnt Pan Bottoms with Vinegar in 2026
Image source: iron-fall.com
Problem: Vinegar smell lingers
Solution: Rinse thoroughly and wash with soap. Place the pan upside down in a 350°F oven for 10 minutes to air out.
Problem: Pan looks dull after cleaning
Solution: Buff with a small amount of mineral oil or stainless steel polish. Avoid olive oil—it can go rancid.
Problem: Water spots appear
Solution: Dry immediately after rinsing. Use a squeegee or microfiber cloth for streak-free results.
How to Prevent Burnt Pan Bottoms in the Future
Cleaning is great, but prevention is even better. Here are smart habits to keep your pans burn-free in 2026:
- Use medium heat: Most foods don’t need high heat. Medium is enough for sautéing, simmering, and searing.
- Preheat pans slowly: Heat the pan gradually before adding oil or food. This prevents hot spots that cause burning.
- Don’t leave food unattended: Set a timer, especially for sauces, rice, or soups that can bubble over.
- Use a splatter screen: It reduces mess and helps regulate heat.
- Clean spills immediately: Wipe up oil or food drips on the stovetop—they can burn onto the pan bottom.
- Choose the right pan for the job: Use heavy-bottomed pans for even heat distribution.
Bonus tip: Keep a spray bottle of vinegar-water mix (1:1) under the sink. A quick spritz after cooking can prevent residue from hardening.
Why This Method Is Perfect for 2026
In 2026, home cooks are more conscious than ever about sustainability, health, and efficiency. This vinegar cleaning method checks all the boxes:
- Eco-friendly: No plastic bottles, no toxic runoff.
- Cost-effective: Saves money on specialty cleaners.
- Time-saving: Minimal scrubbing means more time enjoying meals.
- Safe for families: No fumes or harsh chemicals around kids or pets.
- Works with smart kitchens: Compatible with induction, gas, and electric stoves.
As smart appliances and AI-assisted cooking grow in popularity, simple, reliable methods like this remain essential. You don’t need high-tech gadgets to keep your cookware in top shape—just vinegar, patience, and a little know-how.
Final Thoughts
Cleaning burnt pan bottoms doesn’t have to be a nightmare. With vinegar, you have a natural, affordable, and incredibly effective solution that’s stood the test of time—and is more relevant than ever in 2026. Whether you’re a busy parent, a student on a budget, or a sustainability advocate, this method empowers you to tackle kitchen messes with confidence.
Remember: the key is patience. Let the vinegar do the work. Soak, scrub gently, and maintain your pans regularly. Your cookware will thank you with years of reliable performance.
So next time you burn dinner (and you will—we all do), don’t panic. Grab the vinegar, follow these steps, and get back to cooking with a clean slate.