How to Re Season Cast Iron Cookware: A Simple Home Cook’s Guide

Have you ever pulled your favorite cast iron skillet out of the kitchen cabinet, only to find dull gray patches, small rust spots, or sticky black flakes on the surface? Or maybe you tried frying an egg, and half of it stuck to the bottom of the pan like superglue. I know how frustrating that can feel. A dry or damaged pan surface can quickly turn an easy weekend breakfast into a scrubbing nightmare in the sink.
Hi, I’m Daniel Cross. Here at EliteComparison.com, I focus on practical kitchen research, simple tool care, and real-world cooking guidance for everyday American households. You do not need to be a professional chef, and you certainly do not need to buy expensive gear or harsh chemicals to fix your pan. In fact, learning how to re season cast iron cookware is one of the easiest, most satisfying skills you can master in your home kitchen.
In this practical guide, I will walk you step by step through restoring your favorite skillet or Dutch oven. We will cover why seasoning breaks down in the first place, which budget-friendly oils give you the best nonstick coating, how to strip away rusty patches safely, and how to bake on a smooth, protective finish that makes cooking easy again.
Quick Answer
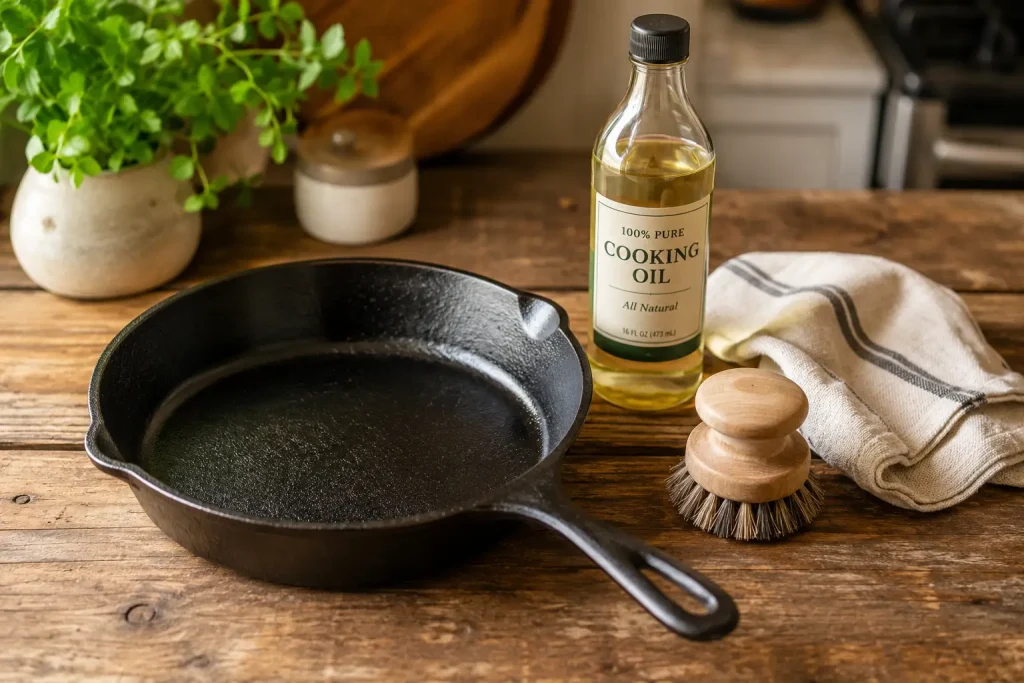
To re-season cast iron cookware, scrub away all rust and loose food residue using warm water, dish soap, and a stiff brush or fine steel wool. Next, dry the pan thoroughly over low stove heat. Apply a tiny half-teaspoon drop of high-smoke-point oil (such as canola or grapeseed oil) over the entire pan, then wipe off almost all of it with a clean paper towel until the metal looks dry and matte. Bake the skillet upside down in your oven at 450°F (232°C) for one hour, with a sheet of foil on the lower rack to catch stray drips. Finally, turn off the oven and let the pan cool completely inside before storing.
What Home Cooks Should Know About Cast Iron Seasoning
Here’s the thing about cast iron cookware: seasoning is not actual table salt and black pepper. In the kitchen world, seasoning refers to a thin layer of cooking oil that has been baked onto the raw metal at high temperatures. Through a natural chemical reaction called polymerization, liquid fat transforms into a hard, plastic-like protective coating that bonds directly with the iron.
This oil barrier serves two major purposes in your everyday cooking. First, it protects the iron surface from coming into direct contact with water and air, which stops rust from forming. Second, it creates a naturally smooth, dark surface that prevents food from sticking. When properly maintained, a seasoned pan performs just as well as nonstick synthetic cookware, but without delicate chemical coatings that wear out over time.
Over time, cooking acidic foods like tomato sauce or lemon glazes, washing with harsh scouring pads, or leaving a wet skillet sitting in the sink can break down that protective layer. When the seasoning strips away, moisture reaches the raw metal, creating rust. The good news is that cast iron is almost indestructible. Unless your skillet is cracked in half or warped terribly, you can always strip off the old finish and build a brand-new layer of seasoning right in your oven.
Choosing the right cooking fat makes a huge difference when restoring your pan. You want an oil with a high smoke point that bakes into a hard shell without leaving a greasy or sticky residue behind. According to food hygiene standards from the USDA Food Safety and Inspection Service, keeping kitchen tools clean, rust-free, and properly maintained helps ensure safe, sanitary surface conditions for daily home meal preparation.
Here is a quick look at common kitchen oils and fats to help you select the best choice for your kitchen:
- Grapeseed Oil: My top overall recommendation. It has a high smoke point, neutral aroma, and forms a tough, durable seasoning layer.
- Canola Oil or Vegetable Oil: Excellent everyday budget picks. They are low-cost, easy to find in any grocery store, and work reliably well.
- Sunflower or Safflower Oil: Solid alternatives with high heat tolerance and clean drying properties.
- Extra Virgin Olive Oil: Not recommended for full oven re-seasoning. Its low smoke point causes it to burn, smoke heavily, and flake easily.
- Butter, Margarine, or Animal Lard: Avoid these for oven baking and long-term storage. Unrefined animal fats can turn rancid over time if the pan isn’t used every day.
Signs You Need to Re-Season Your Cast Iron Cookware
How do you know when your pan needs a complete reset in the oven rather than just a simple rinse and light stovetop oiling? Sometimes a dull pan just needs a light touch-up after dinner, but other times the oil layer has failed completely. Recognizing these warning signs early saves you time and prevents ruined meals.
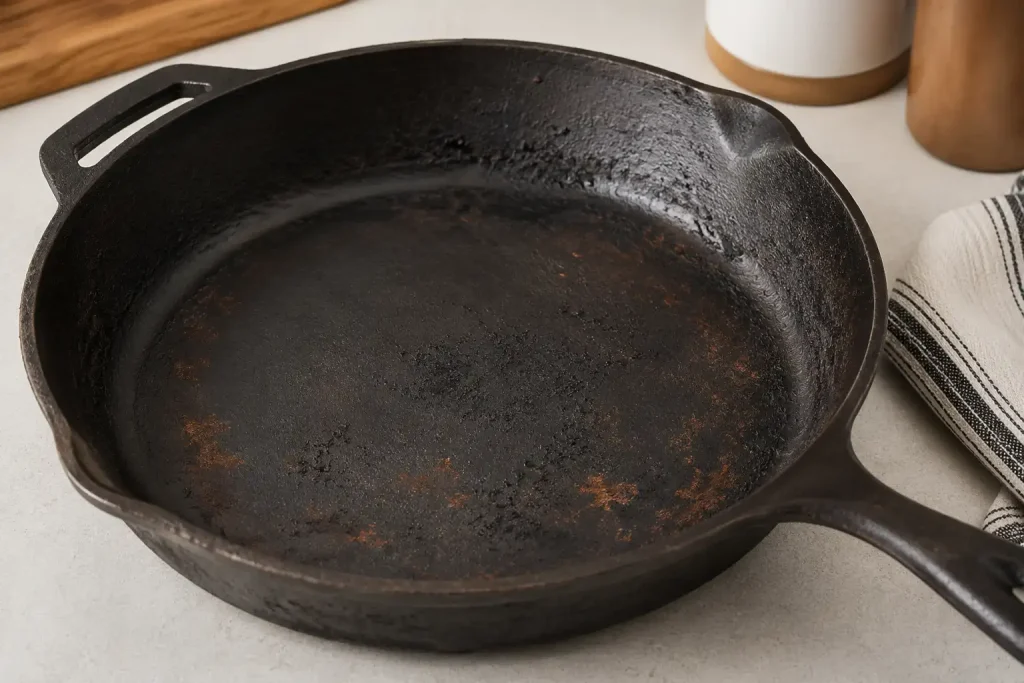
If you notice any issues during meal prep, use this practical comparison table to identify what is happening and how to fix it:
| Pan Condition | What It Means | Action Required |
|---|---|---|
| Reddish Rust Spots | Moisture reached raw iron due to air drying or damp storage. | Full re-seasoning. Scrub away rust completely with steel wool and bake with oil. |
| Sticky or Gummy Surface | Too much oil was applied or the oven temperature was too low to cure the fat. | Scrub with warm soapy water to remove excess grease, then bake in oven at 450°F to harden. |
| Black Flakes in Food | Old, carbonized food bits or broken seasoning layers are peeling off. | Scrub away loose flaking material with a scrub pad and re-season from scratch. |
| Dull Gray or Patchy Look | The protective oil layer has thinned out from washing or simmering liquids. | Stovetop touch-up or light single-coat oven seasoning refresh. |
How to Re Season Cast Iron Cookware Step by Step
Restoring your cookware takes about two hours total, but your active hands-on time is only about fifteen minutes. Follow these six straightforward steps to reset your cast iron pan safely and easily at home.
- Scrub the Pan Down to Bare Iron: Place your pan in the sink with warm water and mild dish soap. Use fine steel wool or a stiff nylon scrub brush to scrub away all surface rust, old food crust, and loose black flakes. Scrub thoroughly until you see smooth, bare metal. Note: this is the only time you should scrub cast iron aggressively with steel wool!
- Dry the Pan Thoroughly on the Stove: Immediately wipe the pan dry with a clean cloth or paper towel. Place the skillet on your stovetop burner over low heat for 3 to 5 minutes. Heat drying evaporates every hidden droplet of moisture in the porous metal. Never leave wet iron to air dry, or flash rust will form within minutes.
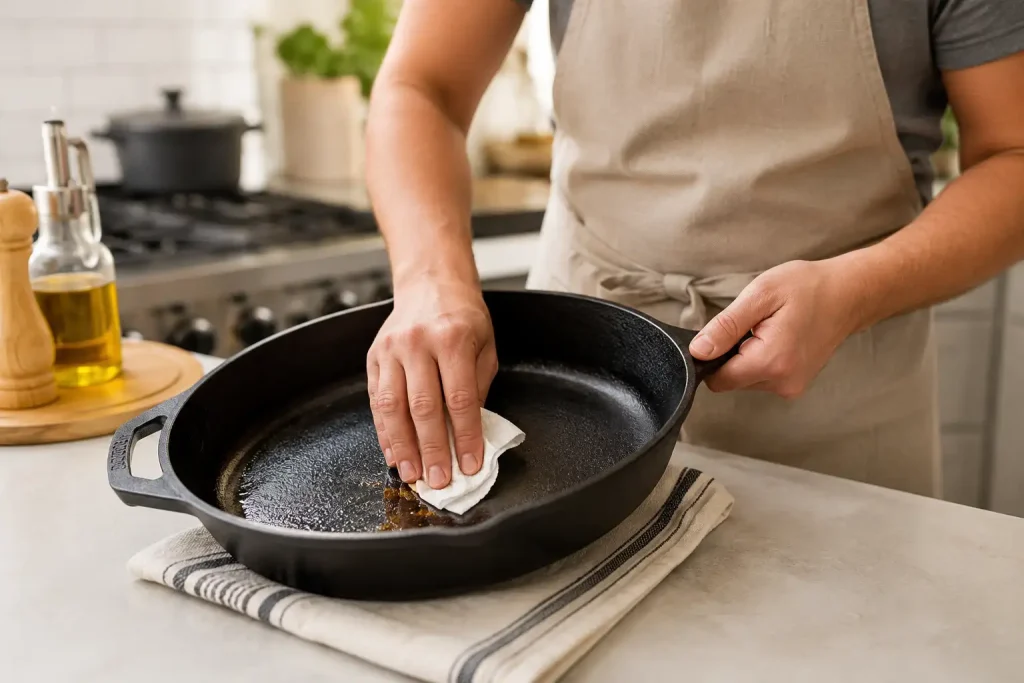
- Apply a Small Drop of Cooking Oil: Once the pan warms slightly and dries completely, remove it from heat. Pour about half a teaspoon of canola or grapeseed oil into the center. Use a paper towel to rub the oil all over the inside surface, rim, handle, exterior, and bottom of the pan. Every part of the metal needs a tiny layer of oil.
- Buff Away Almost All the Oil (The Secret Trick): This step is where most home cooks run into trouble. Take a completely dry paper towel and wipe down the pan vigorously. Keep wiping until the pan looks totally dry and matte, almost as if you removed all the oil. The ideal coating is a micro-thin film. Leaving visible pools or streaks of oil leads to a sticky, patchy finish.
- Bake Upside Down in the Oven: Preheat your oven to 450°F (232°C). Place a sheet of aluminum foil or a large baking sheet on the bottom oven rack to catch any stray oil drips. Place your cast iron skillet upside down on the middle or top rack. Baking upside down keeps excess oil from pooling at the bottom of the pan. Bake for one full hour.
- Let the Pan Cool Completely in the Oven: Turn off the oven after one hour and leave the oven door closed. Allow the pan to cool down inside for at least one to two hours. Allowing the metal to cool slowly ensures the polymerized oil layer sets firmly into the iron.
Kitchen Safety Note: Heating oil in an oven at high heat can create a light smoke or oil odor in your home. Always open a kitchen window or turn on your stove range hood fan while baking. When moving hot iron pans, always use thick heat-resistant silicone gloves or heavy oven mitts. For general home appliance and fire safety guidelines, consult recommendations from the Consumer Product Safety Commission.
Common Mistakes to Avoid When Re-Seasoning
Re-seasoning cast iron is simple once you know the process, but minor errors can ruin your effort. Keep these practical tips in mind to avoid common mistakes:
- Using Too Much Oil: Applying a heavy layer of liquid oil causes sticky, gummy spots that catch dirt and ruin the finish. Wipe until the pan looks virtually dry before baking.
- Setting the Oven Temperature Too Low: If your oven heat stays below the smoke point of your oil, the oil won’t polymerize. Stick to 450°F to 500°F for canola or grapeseed oil.
- Skipping the Stove Heat-Drying Step: Trapping water under fresh oil causes rust to develop directly beneath your new finish. Always heat-dry on the burner first.
- Forgetting Foil on the Bottom Rack: Stray drops of burning oil on hot oven elements can trigger home smoke alarms or cause small grease flare-ups. Always catch drips with foil.
- Rushing the Cooling Period: Pulling a 450°F iron skillet out of the oven too fast poses severe burn risks and interrupts the cooling phase that sets the finish.
Practical Tips from Daniel
Over years of researching cookware, organizing home kitchens, and helping families keep their kitchen gear in top shape, I have discovered a few simple habits that keep cast iron in prime condition with minimal work.
Daniel’s Kitchen Tip: Don’t hesitate to repeat the oil-and-bake process two or three times if you are starting from bare, stripped metal. Each additional micro-thin layer builds on the previous one, giving you a darker, slicker surface that resists sticking far better.
Daniel’s Kitchen Tip: Cook high-fat foods during your pan’s first few uses after a full re-seasoning. Searing bacon, frying chicken, or baking cornbread adds natural cooking fats that strengthen your new coating without extra effort.
Daniel’s Kitchen Tip: Avoid cooking high-acid foods like tomato sauces, wine reductions, or lemon glazes in a freshly restored skillet. Acid strips away young seasoning quickly. Save those recipes for your stainless steel cookware until your cast iron layer is deeply aged and seasoned.
Key Takeaways
- Seasoning is a layer of polymerized fat baked into the iron, not spice seasonings or synthetic coatings.
- Always scrub off rust, loose flakes, and old residue down to bare metal before applying new oil.
- Dry the wet pan over low stove heat to evaporate hidden moisture and prevent immediate rust.
- Apply oil sparingly and buff off almost all of it before baking upside down at 450°F for one hour.
- Maintain your pan with daily gentle washing, thorough drying, and a single light oil drop after cooking.
Frequently Asked Questions
Can I use soap on my cast iron cookware?
Yes, modern mild dish soap is completely safe to use on cast iron. Old kitchen myths against dish soap come from historic lye-based soaps that stripped oil coatings. Gentle dish soap and a soft sponge will clean food grease without damaging a fully cured seasoning layer.
What is the best oil for re seasoning cast iron cookware?
Grapeseed oil and canola oil are two of the best options for re-seasoning cast iron. They offer high smoke points, neutral flavor, reasonable pricing, and polymerize into a smooth, durable shell. Avoid extra virgin olive oil and butter for full oven seasoning.
Why is my cast iron skillet sticky after seasoning?
A sticky surface usually means too much oil was left on the pan or the oven temperature wasn’t high enough to polymerize the fat. To fix it, scrub off the sticky layer with warm soapy water, wipe the pan completely dry, and rebake it upside down at 450°F for one hour.
How long does it take to re season cast iron?
The entire re-seasoning process takes around 2 to 3 hours from start to finish. Active hands-on prep time (scrubbing, drying, oiling) only takes about 15 minutes, while oven baking takes 1 hour and oven cooling takes another 1 to 2 hours.
Is surface rust on cast iron cookware dangerous?
Surface rust on cast iron is not poisonous, but you should clean it off before cooking because it ruins food taste and prevents nonstick performance. Scrub away all rust using fine steel wool, dry the metal thoroughly, and follow the full re-seasoning steps before using the pan again.
Can I re season cast iron on the stovetop instead of the oven?
Yes, you can refresh mild dullness on the stovetop by warming the pan, rubbing in a tiny drop of oil, and heating it until it lightly smokes. However, for rusty, flaking, or completely stripped pans, full oven baking is necessary to cure oil evenly across the entire pan body.
Conclusion
Restoring old or rusty cookware might seem intimidating at first, but it is actually one of the simplest, most rewarding routine tasks you can do in your kitchen. Once you get the hang of scrubbing off rust, applying a micro-thin layer of high-smoke-point oil, and baking the pan upside down in your oven, your cast iron will stay in peak condition for generations.
Remember that cast iron improves over time with consistent care and regular use. Simple habits like prompt stove-drying and wiping the metal with a single drop of oil after washing will keep you from having to do a full oven re-seasoning very often. If you are updating your everyday cooking setup, check out our kitchen tool buying guide to discover essential tools that make meal prep easy. You can also read our head-to-head comparison on stainless steel cookware vs cast iron to choose the best pan for every dish you cook.