How to Clean Aluminum Pans with Vinegar: Quick Guide 2026
Tired of dull or discolored aluminum pans? This 2026 guide shows you exactly how to clean aluminum pans with vinegar, transforming them back to their gleaming best using simple household ingredients. Learn easy, step-by-step methods to tackle everything from light film to stubborn stains, ensuring your cookware is both clean and safe. Embrace an eco-friendly and effective cleaning solution that will extend the life of your beloved aluminum pots and pans.
How to Clean Aluminum Pans with Vinegar Quick Guide
Welcome, home chefs and kitchen enthusiasts! It’s 2026, and while cooking technology might be evolving, some cleaning hacks remain timeless. If you’ve got aluminum pans that have lost their luster, developed a gray film, or even show signs of light discoloration, you’re in the right place. We all know the frustration of a once-shiny pan looking dull and unappealing. Harsh chemicals can be risky, and some commercial cleaners might be too abrasive for aluminum. But what if we told you the secret to restoring your aluminum cookware is sitting in your pantry right now?
That’s right – we’re talking about humble white vinegar! This everyday household staple is a powerful, eco-friendly, and surprisingly effective solution for revitalizing your aluminum pans. It’s gentle on the metal but tough on stains and oxidation. In this comprehensive guide, we’ll walk you through everything you need to know about how to clean aluminum pans with vinegar. We’ll cover various methods, practical tips, and even a troubleshooting section, ensuring your pans look their best without any guesswork. Get ready to bring back that gleaming shine!
Why Aluminum Pans Get Dull and Discolored
Before we dive into cleaning, let’s understand why your aluminum pans might be looking a little sad. Aluminum is a reactive metal. When it comes into contact with certain foods (especially acidic ones like tomatoes, citrus, or even hard water), air, or detergents, it can oxidize. This oxidation creates a layer of aluminum oxide, which appears as a dull, gray, or even black film on the surface. This isn’t usually harmful, but it certainly doesn’t look great.
Another common culprit is hard water minerals leaving deposits, or even residual oils and fats getting baked onto the surface, leading to stubborn stains. Over time, these layers build up, dimming the pan’s natural shine. Using vinegar is a fantastic way to tackle these issues because its acetic acid content helps to dissolve that oxidized layer and break down mineral deposits, revealing the bright aluminum underneath.
What You’ll Need: Gathering Your Cleaning Arsenal
Good news! You won’t need an elaborate collection of specialty cleaning products. Most of what you need you likely already have.
- White Vinegar: The star of our show. Standard distilled white vinegar (5% acidity) works perfectly.
- Water: For diluting the vinegar and rinsing.
- Large Sink or Basin: To soak pans, if necessary.
- Soft Sponge or Cloth: For gentle scrubbing.
- Non-abrasive Scrubber or Brush: For tougher spots (ensure it’s safe for non-stick if your pan has it).
- Baking Soda (Optional but Recommended): A mild abrasive that boosts vinegar’s cleaning power for stubborn stains.
- Cream of Tartar (Optional): Another excellent mild abrasive for specific tasks.
- Gloves (Optional): If you have sensitive skin.
- Dish Soap: For a final wash.
- Towel: For drying.
You can also read: My 7 Best Aluminum Oxidation Remover
Step-by-Step Guide: How to Clean Aluminum Pans with Vinegar
Let’s get down to business! We’ll cover different methods to tackle various levels of discoloration and staining. Choose the method that best suits your pan’s condition.
Method 1: The Boiling Method (For Light Discoloration and Dullness)
This is your go-to for general dullness, slight graying, and minor water spots. It’s quick, effective, and requires minimal effort.
1. Prepare Your Pan
First, give your aluminum pan a quick wash with warm water and dish soap to remove any food debris or grease. Rinse it thoroughly.
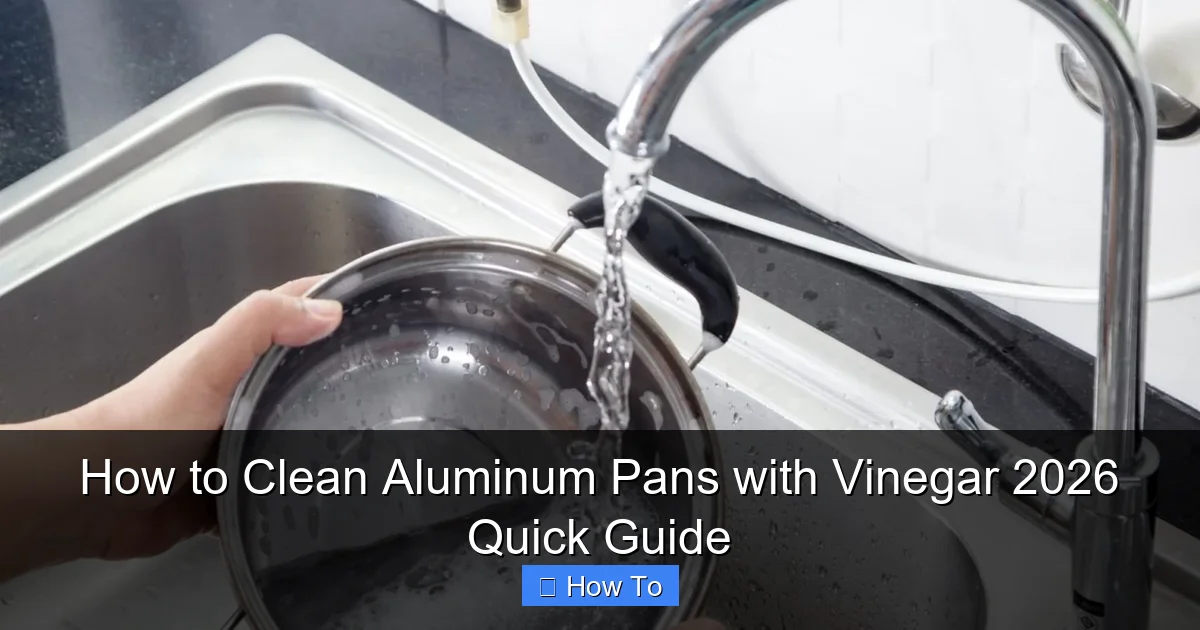
Visual guide about How to Clean Aluminum Pans with Vinegar 2026 Quick Guide
Image source: chefrick.com
2. Create the Vinegar Solution
Pour a solution of equal parts white vinegar and water into the pan. For example, if your pan holds 4 cups, use 2 cups of vinegar and 2 cups of water. Make sure the solution covers the discolored areas. If you’re cleaning the outside or just a specific spot, you can use a larger pot to submerge the aluminum pan, or simply apply the solution with a cloth.
3. Bring to a Gentle Boil
Place the pan on your stovetop over medium heat. Bring the vinegar-water solution to a gentle boil. Let it simmer for 5 to 15 minutes. You’ll notice the discoloration starting to lift and the water becoming cloudy. The exact time depends on the severity of the dullness. For really stubborn burnt-on issues, you might want to consider methods discussed in our guide on how to clean burnt pan bottoms with vinegar, which often involves a stronger focus on the underside.
4. Cool and Drain
Carefully remove the pan from the heat and let the solution cool down completely. Never drain hot acidic solutions into your plumbing without adequate cooling, as it can be detrimental to older pipes over time.
5. Scrub and Rinse
Once cool, drain the vinegar solution. Use a soft sponge or cloth to gently scrub the pan. You should find that the dull film and discoloration wipe away easily. Rinse the pan thoroughly with warm water.
6. Final Wash and Dry
Wash the pan again with warm water and dish soap to remove any lingering vinegar smell or residue. Dry it immediately with a clean towel to prevent water spots.
Method 2: The Soaking Method (For Moderate Stains and Oxidation)
If your pan has more noticeable graying or widespread discoloration that the boiling method can’t quite tackle, the soaking method provides a longer contact time for the vinegar to work its magic.
1. Initial Clean-Up
As always, start by washing your pan with soap and water to remove any loose food particles or grease. Rinse well.
2. Prepare a Soaking Bath
Fill a large sink or a plastic basin with enough hot water to submerge your aluminum pan. Add 1 cup of white vinegar for every gallon of hot water. For a standard kitchen sink, 2-3 cups of vinegar might suffice.
3. Soak the Pan
Place your aluminum pan into the vinegar-water bath, ensuring the discolored areas are fully submerged. Let it soak for at least 30 minutes, or even up to a few hours for more severe discoloration. The longer soaking time allows the vinegar to penetrate and dissolve the oxidation effectively. This method is particularly useful if you’re dealing with extensive dullness rather than just a few spots.
4. Scrub Away Stains
After soaking, remove the pan and drain the solution. Use a soft sponge or a non-abrasive scrubber to gently rub away the softened stains and oxidation. You should see a significant improvement in the pan’s appearance. For very stubborn, stuck-on burnt food, you might need a more aggressive approach, which is often detailed in guides like how to remove burnt food stuck on pan, but usually, vinegar will loosen much of it.
5. Rinse and Dry
Rinse the pan thoroughly with clean water, then wash with dish soap and dry immediately.
Method 3: The Paste Method (For Tough Stains, Dark Spots, and Burnt-On Residue)
Sometimes, you encounter dark spots, persistent stains, or even light burnt-on residue that requires a bit more targeted action. This is where a vinegar and baking soda paste comes in handy. Remember, it’s also good to understand does aluminum cookware react with food, as that can sometimes explain why certain stains develop more easily.
1. Clean and Dry the Pan
Start with a clean, *dry* pan. This is important for the paste to adhere properly.
2. Create the Paste
In a small bowl, mix white vinegar with enough baking soda to form a thick paste. Start with a few tablespoons of baking soda and add vinegar slowly until you get a consistency similar to toothpaste. You’ll notice it fizzing – that’s the chemical reaction at work, which helps lift stains!
3. Apply the Paste
Apply the paste directly to the stubborn stains, dark spots, or burnt areas on your aluminum pan. Use your fingers or a soft cloth. Make sure the paste fully covers the affected areas.
4. Let it Sit
Allow the paste to sit on the stains for 15 minutes to an hour, depending on the severity. For really tough spots, you can even leave it for a few hours. The longer it sits, the more time the mild abrasive action of the baking soda combined with the acid of the vinegar has to work.
5. Scrub Gently
Using a non-abrasive scrubber (like a Scotch-Brite non-scratch scrub sponge or a soft brush), gently scrub the paste into the stained areas. Apply steady, circular motions. You should feel the grime and discoloration starting to lift. The baking soda provides a gentle abrasive action that helps to scrub away the loosened material without scratching the aluminum.
6. Rinse and Finish
Rinse the pan thoroughly under warm running water to remove all traces of the paste and the loosened grime. Finish with a regular wash with dish soap and water, then dry immediately.
Important Tips for Cleaning Aluminum Pans with Vinegar
*
Always Use White Vinegar
Stick to distilled white vinegar. Apple cider vinegar or other types might leave behind a residue or a stronger scent. White vinegar is the purest form for cleaning tasks.
*
Never Use Abrasive Scrubbers or Steel Wool
Aluminum is a relatively soft metal. Harsh scrubbers like steel wool, abrasive powders (other than very fine baking soda), or metal brushes can scratch the surface, making it more prone to future staining and potentially damaging any non-stick or anodized finishes. Always opt for soft sponges, cloths, or non-scratch pads.
*
Rinse Thoroughly
After cleaning with vinegar, it’s crucial to rinse your pan thoroughly to remove all traces of the acid. Lingering vinegar could potentially continue to react with the aluminum over time or impart a vinegary taste to your next meal.
*
Dry Immediately
Don’t let your aluminum pan air dry. Water spots and mineral deposits from tap water can quickly reappear, undoing all your hard work. Dry immediately with a clean towel.
*
Regular Maintenance is Key
The best way to keep your aluminum pans looking great is regular cleaning. A quick wash with soap and water after each use and a vinegar rinse or soak every few weeks can prevent stubborn build-up.
*
Avoid Dishwashers for Bare Aluminum
Most bare aluminum pans are not dishwasher safe. The harsh detergents and high heat in dishwashers can cause severe discoloration, pitting, and even warping. Always hand wash your aluminum pans.
*
Consider Anodized Aluminum
If you’re buying new aluminum cookware, consider anodized aluminum. It’s a harder, non-reactive form of aluminum that is much more resistant to staining and discoloration. However, even anodized aluminum can benefit from occasional gentle cleaning if it dulls over time.
Troubleshooting: What If My Pan Isn’t Sparkling?
Sometimes, despite your best efforts, certain stains seem incredibly persistent. Don’t despair!
Stubborn Black Spots or Pitting
If you have very dark, almost black spots, or even slight pitting, it might be more than just surface oxidation. This can happen from prolonged contact with highly acidic or alkaline foods, or from very hard water. While vinegar is excellent, it may not reverse true pitting. For severe issues, you might need to consult professional pan restoration services. For general knowledge about the material itself, reading about topics like are old aluminum pans safe can provide broader context on when a pan might be beyond simple cleaning.
Lingering Dullness
If the pan still looks dull, try repeating the chosen vinegar method, perhaps increasing the soaking time or using a slightly stronger vinegar-to-water ratio for the boil or soak (up to 50/50 for soak, 75/25 for boil). The baking soda paste method is generally the most effective for persistent dullness and localized dark spots.
External Stains
For stains on the outside of the pan, you can use the paste method or soak the entire pan in a large basin. Alternatively, wet a paper towel with undiluted white vinegar and lay it directly over the stain, letting it sit for 15-30 minutes before scrubbing.
White, Chalky Residue
If you notice a white, chalky residue after cleaning, it’s likely mineral deposits from hard water. A final rinse with distilled water (if you have it) can help, or a quick wipe with a clean cloth dampened with a very dilute vinegar solution (1 part vinegar to 10 parts water) followed by a final plain water rinse.
Conclusion: Embrace the Vinegar Power for Your Aluminum Pans
And there you have it! In 2026, the power of white vinegar remains unchallenged as a natural, effective, and budget-friendly way to restore the shine and cleanliness of your aluminum pans. Whether you’re dealing with light dullness, moderate stains, or even some tougher burnt-on spots, there’s a vinegar method that can help you.
Remember, patience and consistency are key. Regular maintenance with vinegar will keep your pans looking newer for longer, prevent significant build-up, and save you from more intensive cleaning sessions down the line. By following these simple steps and tips, you’ll not only extend the life of your beloved aluminum cookware but also enjoy cooking in pans that look as good as new. Go ahead, grab that bottle of vinegar, and give your aluminum pans the sparkling makeover they deserve!