How To Remove Scratches From Cooktop Stoves: Easy Fixes

Most cooktop scratches can be reduced or hidden with the right cleaner, a soft touch, and the correct repair method.
A scratched cooktop can be frustrating, especially when the rest of the kitchen looks clean. The good news is that many surface marks are fixable, and deeper damage can often be minimized if you use the right approach for your cooktop type. In this guide, I’ll walk you through how to remove scratches from cooktop stoves with simple, safe steps, plus the mistakes I’ve seen people make that can turn a small mark into a bigger problem.

Understand Your Cooktop Before You Try to Fix It
Not every cooktop scratches the same way, and that matters a lot. Glass, ceramic, enamel, and stainless steel all react differently to cleaners and repair methods. If you use the wrong product, you may make the scratch more noticeable or damage the finish around it.
From experience, the biggest mistake is treating every mark like a surface scuff. Some are just residue lines, while others are true scratches. Before you try to remove scratches from cooktop stoves, wipe the surface clean and look at it under bright light.
Common cooktop types and what they need
• Glass and ceramic cooktops need gentle cleaners and nonabrasive tools
• Enamel-coated cooktops can handle a bit more cleaning, but not heavy scrubbing
• Stainless steel cooktops often show fine lines that can be polished with the grain
• Black cooktops need extra care because even tiny marks stand out fast
A simple test helps. Run a fingertip across the mark. If it feels rough, it may be a scratch. If it feels smooth, it could be residue, which is much easier to remove.
What Causes Scratches on Cooktop Stoves
Scratches usually happen during everyday use, not some big accident. Sliding pans, dragging cast-iron cookware, and using gritty sponges are common causes. Even tiny grains of salt or sugar can act like sandpaper on a smooth surface.
I once cleaned a cooktop that looked badly scratched, but the “damage” was mostly baked-on grease mixed with fine food debris. After a careful clean, the marks faded a lot. That taught me to always clean first before assuming the surface is permanently damaged.
Common causes to watch for
• Moving pans across the surface instead of lifting them
• Using cookware with rough bottoms
• Cleaning with steel wool or abrasive pads
• Letting food burn and harden on the surface
• Using harsh powders or rough scrubbing tools
Prevention matters because some scratches are impossible to fully erase. A few smart habits can save a lot of trouble later.
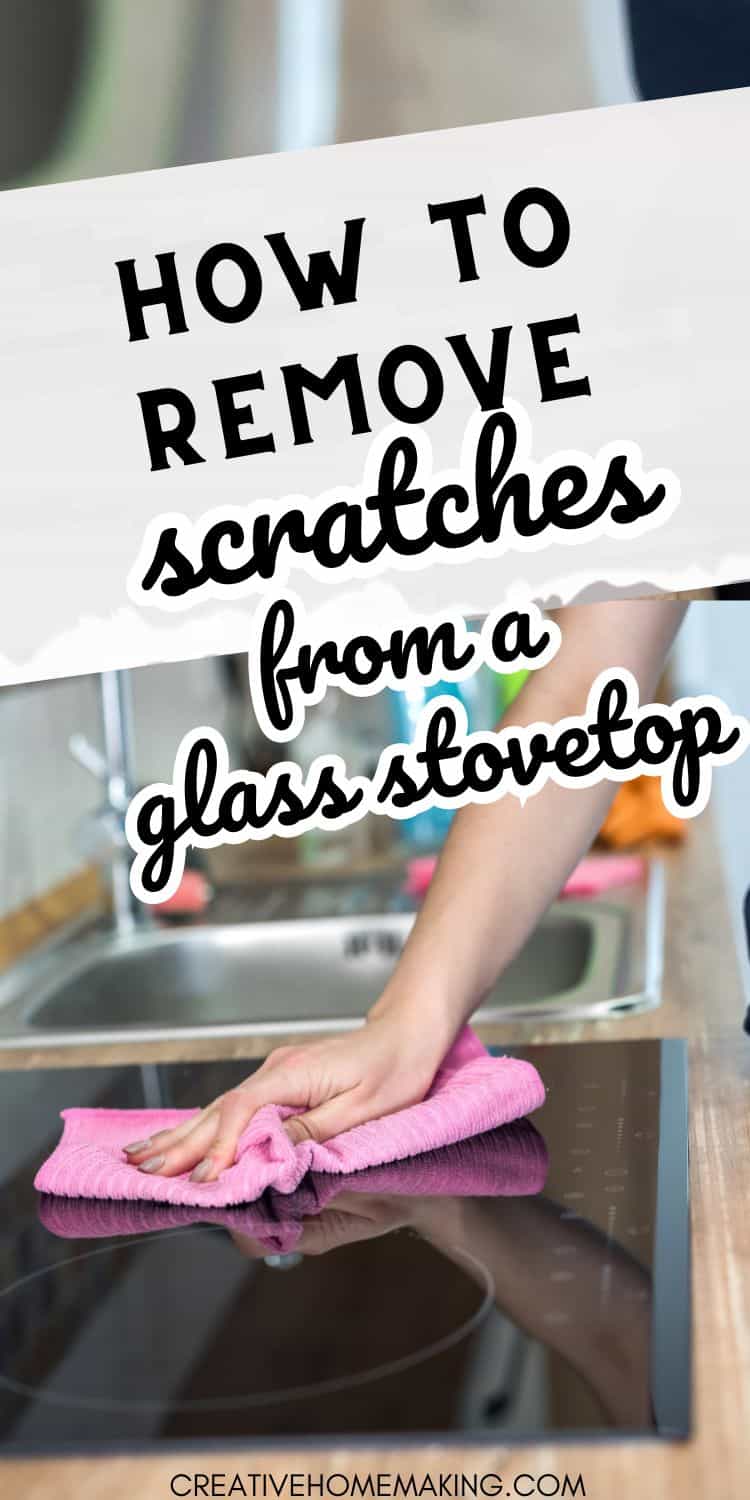
How to Remove Scratches from Cooktop Stoves Safely
The safest method depends on whether you are dealing with light scuffs, visible scratches, or deeper marks. Start with the mildest fix first. That gives you the best chance of improving the look without risking more damage.
Step 1: Clean the cooktop completely
Use a soft cloth, warm water, and a cooktop-safe cleaner. Remove grease, dust, and stuck-on food before judging the scratch. A clean surface lets you see what is actually there.
For glass and ceramic cooktops:
• Use a nonabrasive cleaner made for cooktops
• Wipe in small circles with a microfiber cloth
• Dry with a second clean cloth
For stainless steel:
• Use a mild dish soap solution or a stainless-safe cleaner
• Wipe along the grain of the metal
• Never use anything scratchy
Step 2: Try a polish for light scratches
For very light marks on glass or ceramic, a cooktop polishing cream may help reduce the look of the scratch. Apply a small amount and buff gently with a microfiber cloth. Work slowly and check the result often.
For stainless steel, a metal polish made for appliances can help blend fine surface marks. Always test a hidden spot first. I’ve seen products that look promising but leave a dull patch if they are used too heavily.
Step 3: Use a baking soda paste for surface marks
A soft paste made from baking soda and water can help lift residue that mimics scratches. It is not a magic eraser, but it can improve the appearance of mild scuffs. Apply it gently and rinse well.
Here’s a simple method:
• Mix baking soda with a few drops of water
• Make a thick paste
• Apply with a soft cloth
• Rub very lightly in a circular motion
• Wipe clean and dry completely
This works best on marks that are partly buildup, partly wear. It is not meant for deep gouges.
Step 4: Use a razor scraper only when appropriate
On glass and ceramic cooktops, a razor scraper can remove stuck-on debris, not actual scratches. Use it carefully at a low angle and only on wet, cool surfaces. If you press too hard, you can create more damage.
A scraper is useful when the “scratch” is really burnt food. But if the surface is already scratched, stop and switch to polishing or professional help.
Step 5: Consider a cooktop repair kit
Some cooktop repair kits include polishing compounds, applicators, and color-matching products. These can help hide or blend minor damage. They are most useful for superficial marks on black glass or ceramic surfaces.
Read the instructions closely. The wrong product can cloud the finish, especially on glossy surfaces. If the scratch is deep enough to catch a fingernail, a kit may improve appearance, but it may not make it vanish.
What Works Best for Different Cooktop Surfaces
Matching the fix to the surface is the key to success. One-size-fits-all advice often causes more harm than good.
Glass and ceramic cooktops
These are the most delicate looking and the easiest to mark. Use:
• Cooktop-safe cleaner
• Microfiber cloth
• Polishing cream for light scratches
• Razor scraper for stuck-on residue only
Avoid:
• Steel wool
• Rough pads
• Baking soda with aggressive scrubbing
• Any product not labeled for glass or ceramic
Stainless steel cooktops
Stainless steel can handle more than glass, but it still scratches easily if cleaned the wrong way. Use a stainless polish and always follow the grain. This helps blend fine marks.
Avoid:
• Scrubbing across the grain
• Chlorine-based cleaners
• Abrasive powders
• Harsh scouring pads
Enamel-coated cooktops
Enamel is tough, but once scratched, the damage can be hard to hide. Stick with soft cloths and mild cleaners. Deep scratches may need touch-up products made for appliance enamel.
If the chip reaches the base metal, stop using harsh methods. Water and heat can worsen the damage over time.
Mistakes to Avoid When Trying to Remove Scratches from Cooktop Stoves
This is where many people make the problem worse. I’ve seen over-cleaning do more damage than cooking ever did.
Avoid these common mistakes:
• Using steel wool or green scrub pads
• Testing strong chemicals without checking the label
• Scrubbing dry dust across the surface
• Pressing too hard with a scraper
• Using one product on every type of cooktop
A good rule is simple: if the tool could scratch a smartphone screen, it is probably too rough for a cooktop. That’s a helpful mental shortcut.
When a Scratch Can’t Be Removed
Some marks are not true surface scratches; they are permanent damage. If the scratch is deep, wide, or visible from several angles, no cleaner will fully erase it. At that point, the goal shifts from removal to reduction.
You may need professional repair or replacement if:
• The scratch catches your fingernail
• The glass is chipped or cracked
• The surface has a white haze that will not polish away
• Heat performance seems affected
• The damage is near burners or controls
Cooktop safety matters more than cosmetics. If the surface is cracked, do not keep using it until it is inspected.
How to Prevent Future Scratches
Prevention is the cheapest repair. A few simple habits can keep your cooktop looking newer for much longer.
Try these habits:
• Lift pans instead of sliding them
• Keep cookware bottoms clean and dry
• Use cookware with smooth, flat bases
• Wipe spills quickly before they harden
• Use only soft cloths for daily cleaning
• Avoid placing heavy items on the cooktop
I also recommend checking the bottom of pans once in a while. Tiny bits of grit can act like sandpaper, and most people never notice them. That small step can save you from repeated scratches.
A Simple Routine for Keeping the Surface Smooth
A regular cleaning routine makes a big difference. Clean after the cooktop cools, not while it is hot. That protects the finish and keeps the job easier.
A good routine looks like this:
• Wipe loose crumbs after each use
• Clean spills once the surface is cool
• Use a gentle cleaner once a week
• Polish lightly when needed
• Inspect for new scratches during cleaning
Think of it like skincare for your cooktop. Gentle, steady care works better than occasional heavy scrubbing.

Frequently Asked Questions of How to Remove Scratches from Cooktop Stoves
Can deep scratches on a cooktop be removed?
Deep scratches usually cannot be fully removed, especially on glass and ceramic surfaces. You can often reduce how visible they are, but a true gouge may need professional repair or replacement.
Is baking soda safe for removing scratches from cooktop stoves?
Yes, baking soda is usually safe when mixed with water into a soft paste and used gently. It works best for residue and very light marks, not deep scratches.
Can I use toothpaste on a scratched cooktop?
I do not recommend toothpaste on most cooktops because it can be too abrasive. It may leave micro-scratches or cloud the finish, especially on glass surfaces.
What is the best cleaner for glass cooktop scratches?
A cooktop polishing cream made for glass or ceramic is usually the safest choice for light scratches. Always use a microfiber cloth and follow the product directions carefully.
How do I know if my cooktop is scratched or just dirty?
If the mark disappears after a thorough cleaning, it was likely buildup. If it still feels rough or remains visible under bright light, it is probably a scratch.
Conclusion
Removing scratches from cooktop stoves is often less about force and more about patience, the right tools, and knowing your surface. Start with a full cleaning, use gentle repair methods, and avoid harsh scrubbing that can make the damage worse. The best results usually come from treating the cooktop carefully, the same way you would handle any smooth finish you want to keep looking new.
If you take one thing from this guide, let it be this: clean first, test gently, and match the fix to the cooktop type. That simple habit can save you time, money, and stress. If you found this helpful, explore more appliance care tips or leave a comment with the cooktop issue you’re dealing with.