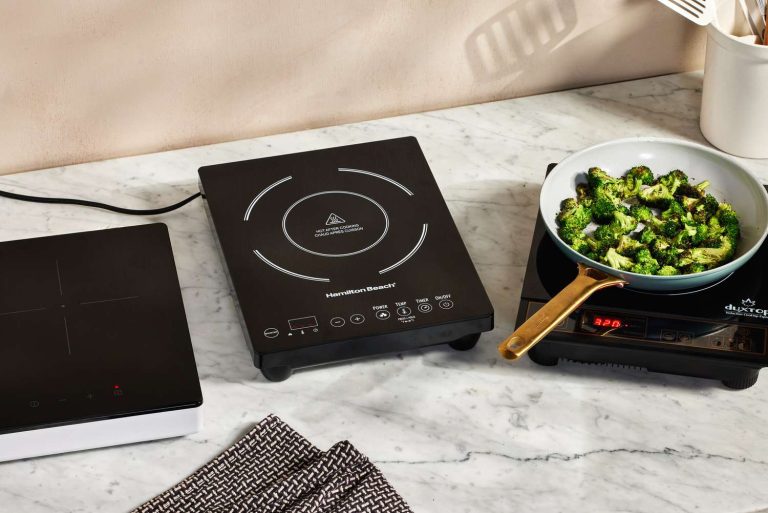
How To Install A Cooktop Stove Electric: Easy Guide

You can install an electric cooktop with proper wiring, cutout fit, and safe electrical checks.
Installing a cooktop stove electric is one of those home upgrades that looks simple until you’re standing in the kitchen with a tape measure, a junction box, and a lot of questions. I’ve helped with enough cooktop installs to know that the difference between a smooth job and a stressful one usually comes down to planning, code compliance, and patience. In this guide, I’ll walk you through how to install a cooktop stove electric the right way, with practical steps, safety tips, and the kinds of small details that save time and prevent costly mistakes.
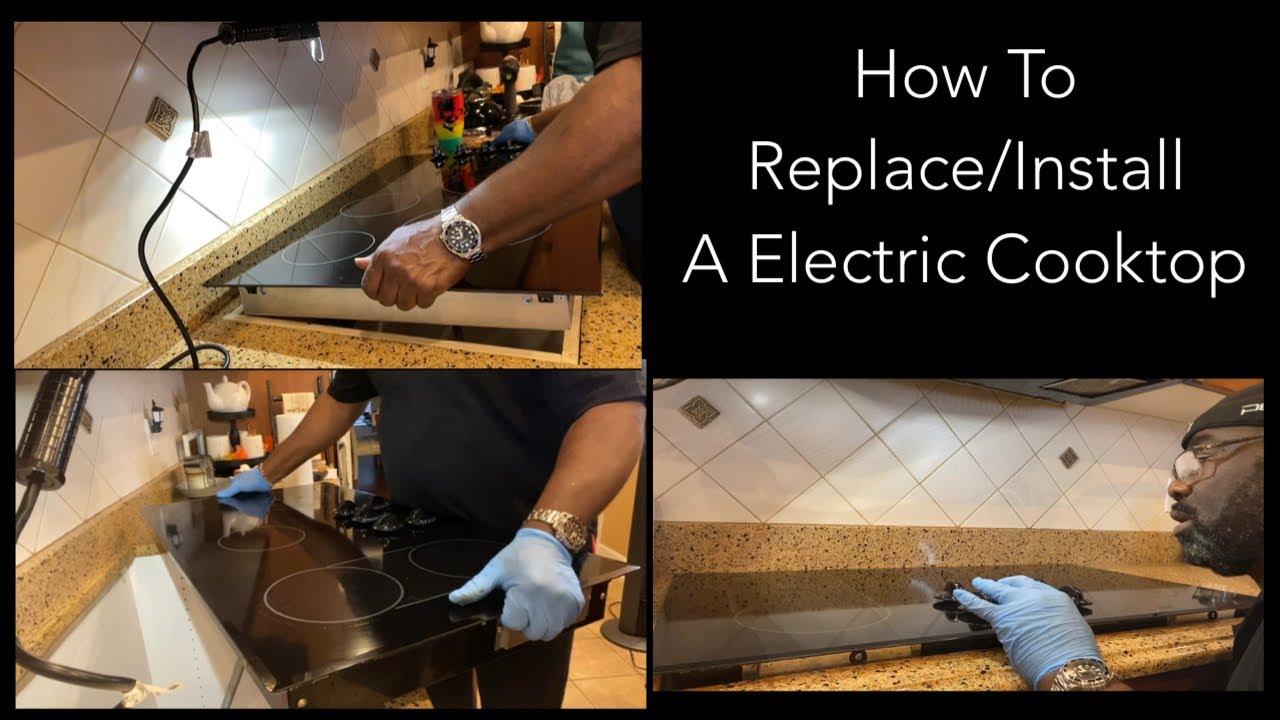
What an Electric Cooktop Is and Why Installation Matters
An electric cooktop is a built-in cooking surface that uses electric burners or heating elements instead of gas flames. It sits flush or nearly flush with your countertop and connects to a dedicated electrical circuit. Because it draws significant power, the install is not just about placing the unit in a hole.
A clean install affects safety, performance, and the life of the appliance. If the cutout is wrong, the cooktop may not seat properly. If the wiring is undersized or the breaker is incorrect, you can end up with tripped circuits, overheating, or even a fire hazard.
I’ve seen homeowners focus on the look and overlook the electrical side. That’s the mistake that turns a weekend project into a repair bill. Treat the cooktop as both an appliance and a high-power electrical device.
What You Need Before You Start
Before you install a cooktop stove electric, gather the right tools and confirm the appliance requirements. Every model is different, so the manufacturer’s installation manual should be your first reference. That booklet tells you the cutout size, clearance space, voltage, amperage, and wiring method.
Common tools and materials include:
• Tape measure for checking cabinet and countertop dimensions
• Pencil for marking the cutout
• Drill and hole saw for access points if needed
• Screwdriver set for brackets and terminal cover screws
• Adjustable wrench or nut driver for electrical connections
• Voltage tester or multimeter for safety checks
• Level for checking fit and stability
• Manufacturer-approved mounting hardware
• Electrical cable, junction box, and connector parts if not already in place
You also need the right electrical setup. Most electric cooktops require a dedicated circuit, often 240 volts, and the amperage depends on the model. Many standard units need a 40-amp or 50-amp circuit, but the exact requirement always comes from the manual and local code.

Safety Checks Before Installing an Electric Cooktop
Safety comes first every time. Before touching any wiring, turn off power at the breaker and verify that the circuit is dead with a voltage tester. Do not trust switch labels alone, because panels are sometimes mislabeled.
Also confirm these points:
• The countertop opening matches the cooktop cutout dimensions
• The cabinet below has enough clearance for the unit and wiring
• The electrical circuit is dedicated and properly rated
• The wire gauge matches the breaker size and appliance load
• The junction box is accessible and mounted correctly
• Local building and electrical codes are being followed
One lesson I learned early: even a beautiful countertop can ruin a good install if the opening is off by just a half inch. Measure twice, then measure again from the actual appliance specs, not from a guess or a memory.
How to Install a Cooktop Stove Electric Step by Step
Installing a cooktop stove electric is manageable when you move in a clear order. The goal is to fit the appliance securely, connect power correctly, and test everything safely.
1. Read the installation manual
Start with the manual from the manufacturer. It contains the cutout template, wiring diagram, minimum clearances, and fastening method.
Do not assume all cooktops install the same way. Some models use spring clips, while others use brackets or adhesive foam seals. The manual is your map.
2. Shut off power at the breaker
Turn off the circuit that feeds the cooktop. Use a voltage tester at the junction box to confirm no power is present.
This step is not optional. I’ve met homeowners who were confident the breaker was off, only to find a live wire during testing. That’s the kind of surprise nobody wants.
3. Check the cutout and countertop opening
Measure the opening in the countertop and compare it to the cooktop’s exact cutout size. Make sure the edges are clean and level.
If the opening is too small, do not force the cooktop. If it is too large, the unit may not sit correctly or could shift over time. A snug fit matters.
4. Confirm the cabinet clearance and ventilation space
Look underneath the countertop and check that the cabinet has enough depth and clearance for the body of the cooktop. Electric cooktops need space for wiring and airflow.
Some models also require a minimum distance from drawers, oven units, or side walls. If your setup is tight, use the manual to verify the safe spacing before moving forward.
5. Prepare the electrical connection
Most electric cooktops connect through a junction box, not a standard wall outlet. The wiring typically includes hot wires, a neutral, and a ground, depending on the model and local requirements.
If the old cooktop is being replaced, inspect the existing wire for wear, heat damage, or brittle insulation. If anything looks questionable, stop and have it reviewed by a licensed electrician.
6. Position the cooktop into the opening
Lift the cooktop carefully and set it into the cutout. If the unit uses a foam gasket or seal strip, make sure it is in place before lowering the appliance.
Take your time here. A rushed set can scratch the surface, pinch the cord, or misalign the mounting clips. Once it’s in the opening, check that it sits flat and centered.
7. Secure the cooktop
Attach the mounting hardware according to the manual. Some cooktops clamp from below, while others use brackets that tighten against the underside of the countertop.
Do not overtighten. Too much force can warp the frame or crack a stone countertop edge. You want firm contact, not stress.
8. Make the electrical connections
Connect the wires exactly as shown in the wiring diagram. In many installations, this means matching the appliance leads to the supply conductors in the junction box and securing them with approved connectors.
Double-check each connection before closing the box. A loose wire can cause heat buildup, intermittent operation, or breaker trips. This is one place where precision matters more than speed.
9. Restore power and test the cooktop
Turn the breaker back on and test each burner or element. Watch for proper heating, indicator lights, and any error messages.
If the unit powers on but does not heat correctly, turn it off and recheck the wiring, breaker size, and manual instructions. Sometimes the issue is simple, like a loose connection or a skipped setup step.
10. Seal and clean the installation area
If the manufacturer calls for sealant or a gasket, confirm the edge is properly sealed. Wipe away fingerprints, dust, and debris around the countertop.
A neat finish is more than cosmetic. It helps keep spills from slipping under the cooktop and makes future maintenance easier.

Common Mistakes to Avoid
A lot of problems with an electric cooktop installation come from small oversights. The good news is that most of them are preventable.
Watch out for these common mistakes:
• Using the wrong breaker size for the cooktop load
• Skipping the installation manual and relying on assumptions
• Cutting the countertop opening too large
• Forgetting to turn off and verify power
• Using damaged or undersized wiring
• Ignoring required clearance around cabinets or ovens
• Overtightening mounting brackets
• Failing to test the appliance after installation
One real-world issue I’ve seen more than once is someone buying the cooktop first and checking the electrical supply later. That can lead to expensive rewiring. Always confirm the circuit first, then buy the appliance.
When to Hire a Licensed Electrician
You can handle some parts of the job yourself if you’re experienced, but there are times when a licensed electrician is the smarter choice. If the home wiring is old, the breaker panel is crowded, or the circuit needs to be upgraded, bring in a pro.
You should also hire one if:
• The cooktop requires a new dedicated circuit
• You are unsure about wire gauge or breaker sizing
• The junction box is missing or badly placed
• Local code requires licensed electrical work
• You are installing in a remodel with other major electrical changes
That decision often saves money in the long run. A clean professional install reduces risk and gives you peace of mind, especially with a high-draw appliance like an electric cooktop.
Maintenance Tips After Installation
Once your cooktop is installed, a little care goes a long way. Good maintenance helps protect the surface, heating elements, and electrical parts.
Simple habits that help:
• Wipe spills as soon as the surface cools
• Use cookware with flat bottoms for better heat transfer
• Avoid dragging pans across glass or ceramic tops
• Check the area around the cooktop for loose debris
• Inspect the power area if you notice heat, odor, or flickering
• Follow the cleaning products recommended by the manufacturer
I always tell people to treat the cooktop like a precision tool, not just a hot surface. Regular care keeps it running better and helps you spot small issues before they grow.
Benefits of Installing an Electric Cooktop Properly
A proper install does more than make the appliance look good. It improves how the whole kitchen works.
Key benefits include:
• Better safety through correct wiring and grounding
• Reliable heating and fewer power issues
• A level, stable fit in the countertop
• Easier cleaning and spill control
• Longer appliance life
• Better resale appeal for the kitchen
When the installation is done right, the cooktop feels like part of the kitchen, not a piece that was just dropped in. That difference is subtle, but you notice it every time you cook.
Frequently Asked Questions of How to Install a Cooktop Stove Electric
Can I install an electric cooktop myself?
Yes, some homeowners with electrical experience can install an electric cooktop themselves. But if the wiring, breaker size, or countertop cutout is uncertain, hiring a licensed electrician is the safer choice.
Does an electric cooktop need a special outlet?
Most electric cooktops do not plug into a standard outlet. They usually connect to a dedicated hardwired circuit through a junction box, depending on the model and local code.
What size breaker do I need for an electric cooktop?
The breaker size depends on the cooktop’s voltage and amperage rating. Always check the manufacturer’s manual and match the breaker to the appliance requirements and wire gauge.
How long does it take to install an electric cooktop?
A straightforward replacement can take a few hours if the wiring and cutout already match. If electrical upgrades or countertop adjustments are needed, the project can take much longer.
What should I do if the cooktop does not turn on after installation?
First, confirm the breaker is on and the circuit is live. Then recheck the wiring connections, the manual’s setup instructions, and any built-in safety locks or controls.
Conclusion
Installing a cooktop stove electric is very doable when you approach it with the right plan. The keys are simple: confirm the electrical requirements, measure the cutout carefully, follow the wiring diagram, and test the appliance before calling the job done.
From my experience, the best installations are never rushed. They come from careful prep, clean wiring, and respect for the details that keep the kitchen safe and efficient. If you’re planning this upgrade, use the manufacturer’s instructions as your guide, and don’t hesitate to bring in a licensed electrician when the wiring setup is beyond your comfort zone.
If this guide helped you, take the next step by checking your cooktop manual, reviewing your circuit setup, and sharing your questions or experience in the comments.